How to Repair Install Windows 8 and 8.1 without Losing Anything

Information
Windows 8 introduced the option to
refresh and
reset your PC to repair or reinstall Windows 8 with as needed. These new features are great for what they are intended for, but there are some drawbacks to them.
When you
reset your PC, it will basically give you a clean install (retail) or factory recovery (preinstalled OEM) of Windows 8 afterwards. You will lose everything from your current Windows 8 installation.
When you
refresh your PC, this basically repairs Windows 8 by reinstalling it while keeping your files, Store apps, most of your settings, etc..... However, all installed 3rd party desktop apps will be removed. If you like, you could
create a custom refresh image to not lose anything, but this will require creating new custom refresh images every so often to keep it updated to not lose anything since the last image was created.
This tutorial will show you how to do a
repair install (aka: in-place upgrade install) to fix your currently installed
Windows 8 without losing anything. For example, desktop apps.
You must be signed in as an
administrator to be able to do a repair install of Windows 8.

Note
Settings that will be Preserved when doing a Repair Install
- All user accounts.
- Files in all users' C:\Users\(user-name) folders. (ex: Desktop, My Documents, My Music, etc...)
- Wireless network connections.
- Apps from the Windows Store will be kept.
- All installed 3rd party desktop programs will be kept.
- Mobile broadband connections.
- BitLocker and BitLocker To Go settings.
- Windows Firewall settings.
- Drive letter assignments.
- File type associations set per user.
- Metro apps settings per user.
- Display settings.
- Personalization settings such as lock screen background and desktop wallpaper.
- All users' PC settings will be kept.
- Choices you made during Windows Welcome, such as computer name and user accounts, will not change.
- Network, Libraries, and Windows Update settings will not change.
- Customer Experience Improvement Program settings will not change.
- Windows Error Reporting settings will not change.
- Some drivers may or may not be removed, but usually will remain.
Settings that will be NOT be Preserved when doing a Repair Install

Warning
- You will only be able to do a repair install from within Windows 8.
- You will not be able to do a repair install at boot or in Safe Mode.
- You must have at least 8.87 GB + what is currently being used of free space on the hard drive/partition that Windows 8 is installed on. You may need more if you have a larger installation.
Be sure to back up anything that you do not want to lose before doing a repair install just to be extra safe. For example, if you lose power in the middle of doing the repair install.
Here's How:
1. Start Windows 8 or Windows 8.1, and sign in to an administrator account.
2. Disable any 3rd party firewall, antivirus, or other security program to avoid it from possibly preventing the repair in-place upgrade installation of Windows 8.
3. Do step 4 or 5 below depending on what you would like to use to do the repair install with.
4. If Using a Windows 8/8.1 DVD or USB to do a Repair Install with

Note
A) Insert/connect and open the DVD or USB, and go to step 6 below.
5. If Using a Windows 8/8.1 ISO file to do a Repair Install with

Note
- The ISO you use must be for the same language as the Windows edition you currently have installed.
- If you have Windows 8 installed, then you must use a Windows 8 ISO.
- If you have Windows 8.1 installed, then you must use a Windows 8.1 ISO.
- If you have Windows 8.1 Update installed, then you must use a Windows 8.1 Update ISO.
- If you have 32-bit Windows installed, then you can only use a 32-bit Windows ISO.
- If you have 64-bit Windows installed, then you can only use a 64-bit Windows ISO.
- If you installed 64-bit Windows with UEFI, then you can only use a 64-bit Windows ISO.
A)
Mount the ISO.
B) Open the mounted ISO from
This PC if it didn't automatically open, and go to
step 6 below.
6. Double click/tap on the setup file to run it. (see screenshot below)
7. If prompted by UAC, then click/tap on Yes.
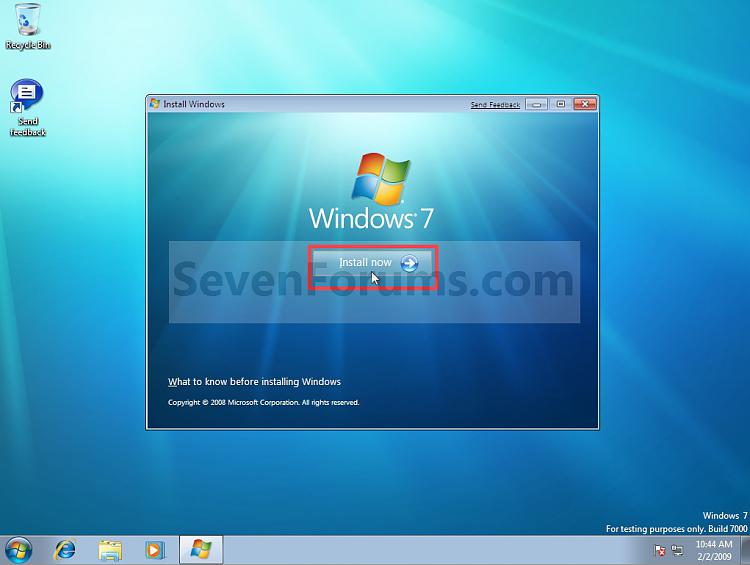
8. If this is for Windows 8 Enterprise, then click/tap on Install now. (see screenshot below)
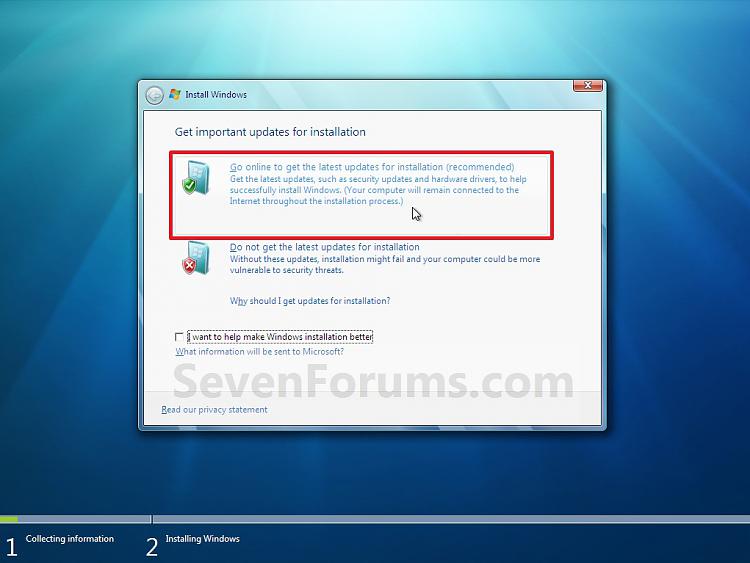
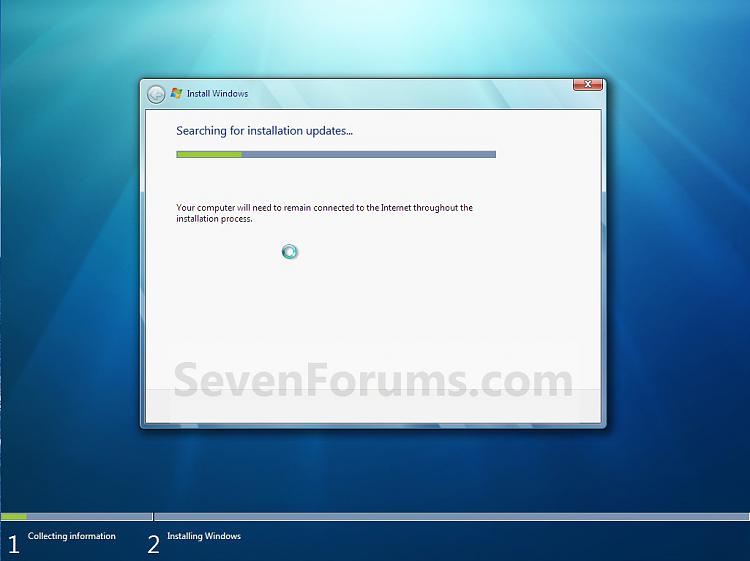
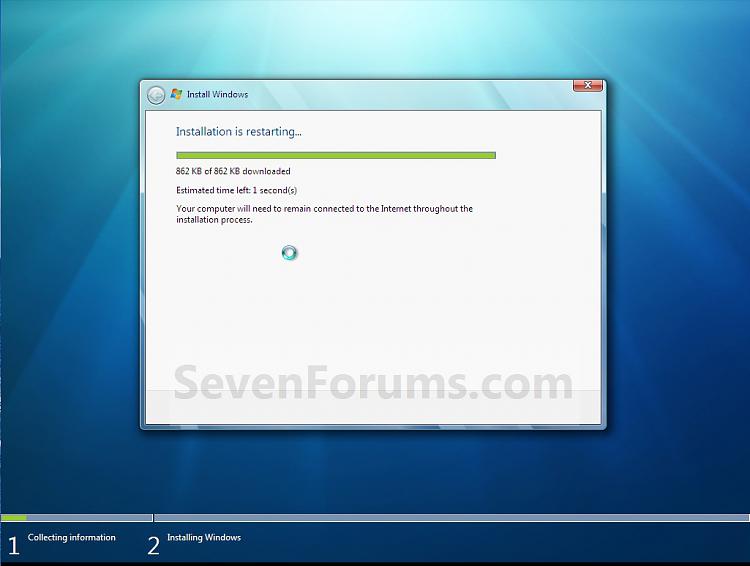
9. If prompted, select (dot) Download and install updates, and click/tap on Next (Windows 8/8.1 or Windows 8/8.1 Pro). (see screenshots below)
NOTE: If any updates are found, then they will be installed, and installation will restart and continue on to step 10.
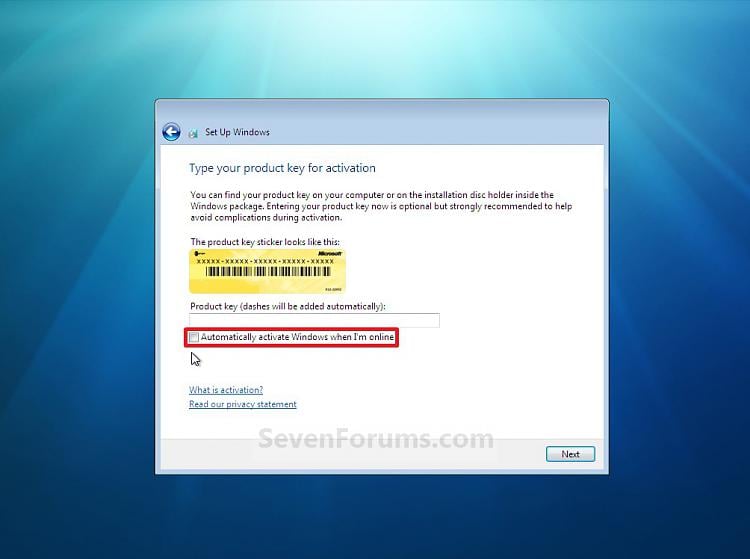
10. Enter your product key that matches the installed edition of Windows, and click/tap on Next. (see screenshot below)

Note
The product key you enter must match what you are installing, or it will not work.
If you have a
Windows 8 product key with
Windows 8 installed, then you are good.
If you have a
Windows 8.1 product key with
Windows 8.1 or
Windows 8.1 Update installed, then you are good.
If you have a
Windows 8 product key with
Windows 8.1 or
Windows 8.1 Update installed, then you would need to enter a generic key below to install with, and change the product key later on in
step 24 below to activate with your Windows 8 key instead.
If you have
Windows 8 Enterprise,
Windows 8. Enterprise, or
Windows 8.1 Update Enterpriseinstalled, then you would need to change the product key later on in
step 24 below to activate since Enterprise editions do not ask to enter a key at this step.
- Windows 8 (core): FB4WR-32NVD-4RW79-XQFWH-CYQG3
- Windows 8 Pro: XKY4K-2NRWR-8F6P2-448RF-CRYQH
- Windows 8 Pro with Media Center: RR3BN-3YY9P-9D7FC-7J4YF-QGJXW
- Windows 8.1 (core): 334NH-RXG76-64THK-C7CKG-D3VPT
- Windows 8.1 Pro: XHQ8N-C3MCJ-RQXB6-WCHYG-C9WKB
- Windows 8.1 Pro with Media Center: GBFNG-2X3TC-8R27F-RMKYB-JK7QT
- Windows 8.1 Enterprise: MNDGV-M6PKV-DV4DR-CYY8X-2YRXH OR FHQNR-XYXYC-8PMHT-TV4PH-DRQ3H
KMS setup keys (8/8.1): Appendix A: KMS Client Setup Keys

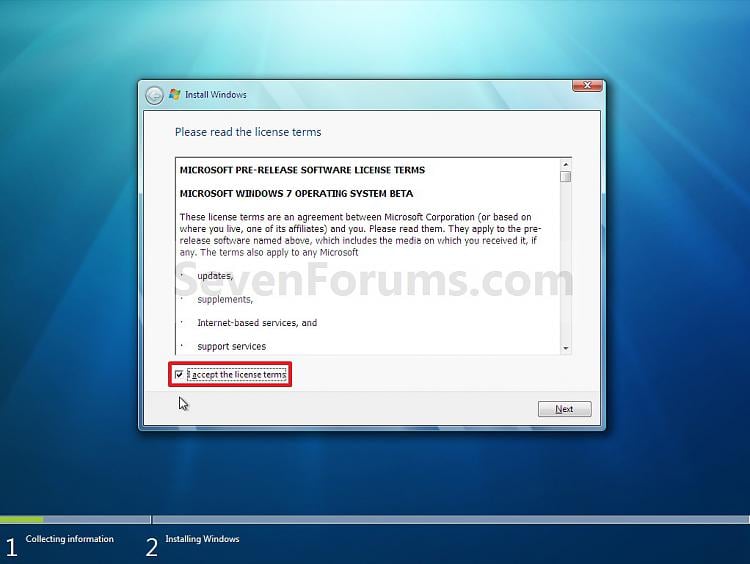
11. Check the I accept the license terms box, and click/tap on Accept (Windows 8 or Windows 8 Pro) or Next (Windows 8 Enterprise). (see screenshots below)
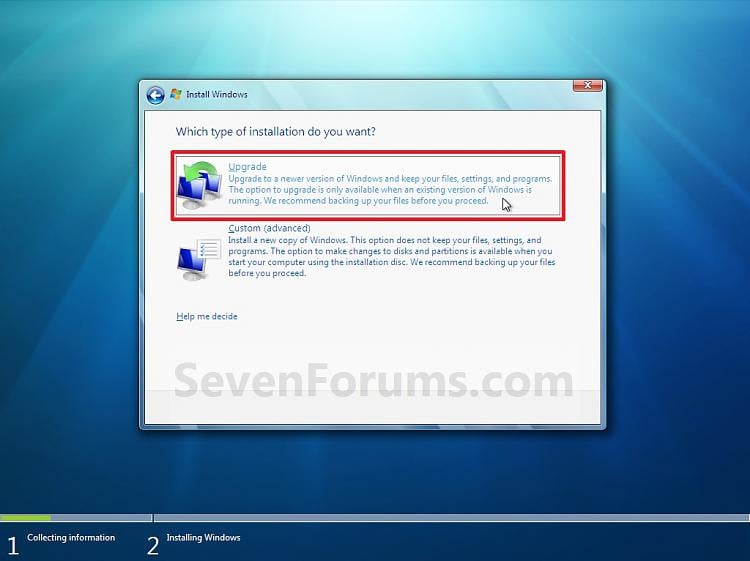
12. If this is for Windows 8 or Windows 8 Pro, then select (dot) Keep Windows settings, personal files, and apps, click/tap on Next, and go to step 14 below. (see screenshot below)
13. If this is for Windows 8 Enterprise, then click/tap on Upgrade: Install Windows and keep files, settings, and applications. (see screenshot below)
14. Windows 8 will now check for compatibility issues to see if you'll need to do anything to get your PC ready for Windows 8. If anything is found, you will need to take care of them before continuing. (see screenshot below)
15. If this is for Windows 8 or Windows 8 Pro and no issues were found from step 14 above, then click/tap on Install. (see screenshot below)
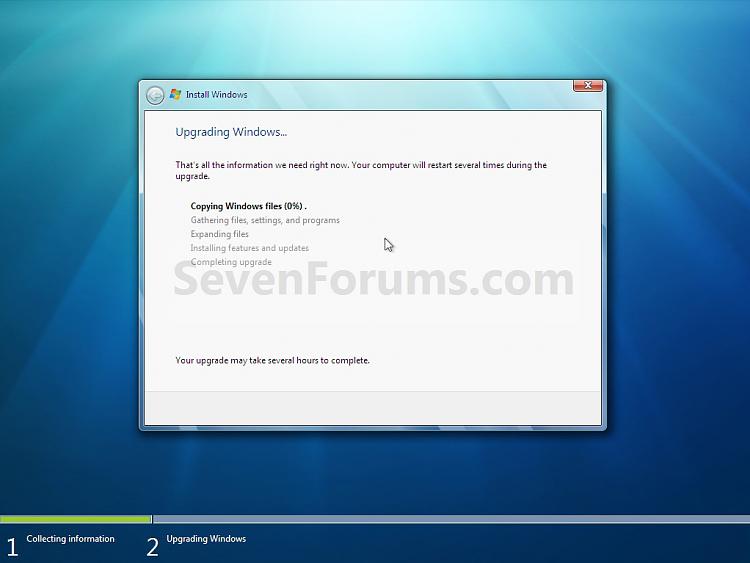
16. Windows 8 will now start to install. The computer will restart a few times during this. (see screenshots below)
NOTE: This will take a while to finish.
17. When Windows 8 is finished installing, select a color you like, and click/tap Next. (see screenshot below)
18. Click/tap on Use Express settings. (see screenshot below)
19. Do step 20 or 21 below depending on if your primary administrator account is a local account or Microsoft account.
20. If you have a Microsoft Account
A) Go to step 22 below.
21. If you have a Local Account
A) Enter the password for the displayed account, and click/tap on Next. (see screenshot below)
B) Click/tap on Skip, and go to step 22 below. (see screenshot below)
22. Windows 8 will now startup signed into your administrator account. (see screenshots below)
23. Use Disk Cleanup to delete at least the Previous Windows installation(s), Setup Log Files, Temporary Windows installation files, and Windows upgrade log files items to free up the large amount hard drive space that they take. (see screenshots below)
24. If you have an Enterprise edition or needed to use a generic key to install with from step 10 above, then you will need tochange the product key to be able to enter the product key and activate it. (see screenshots below)
25. Check for and install any available Windows Updates.
26. If needed, refresh or update you Windows Experience Index (WEI) score.


 , type
  If you are prompted for an administrator password or for a confirmation, type your password, or click Continue.


 If you don't have Keep personal files and apps selected, you will not keep everything.



 ), and click on the Go online to get the latest updates for installation option. (see screenshot below)
